
Quant-UX - Prototype, Test and Learn
Quant UX is a research, usability and prototyping tool to quickly test your designs and get data driven insights. This repo contains the front end. You can find a working demo at https://quant-ux.com/#/
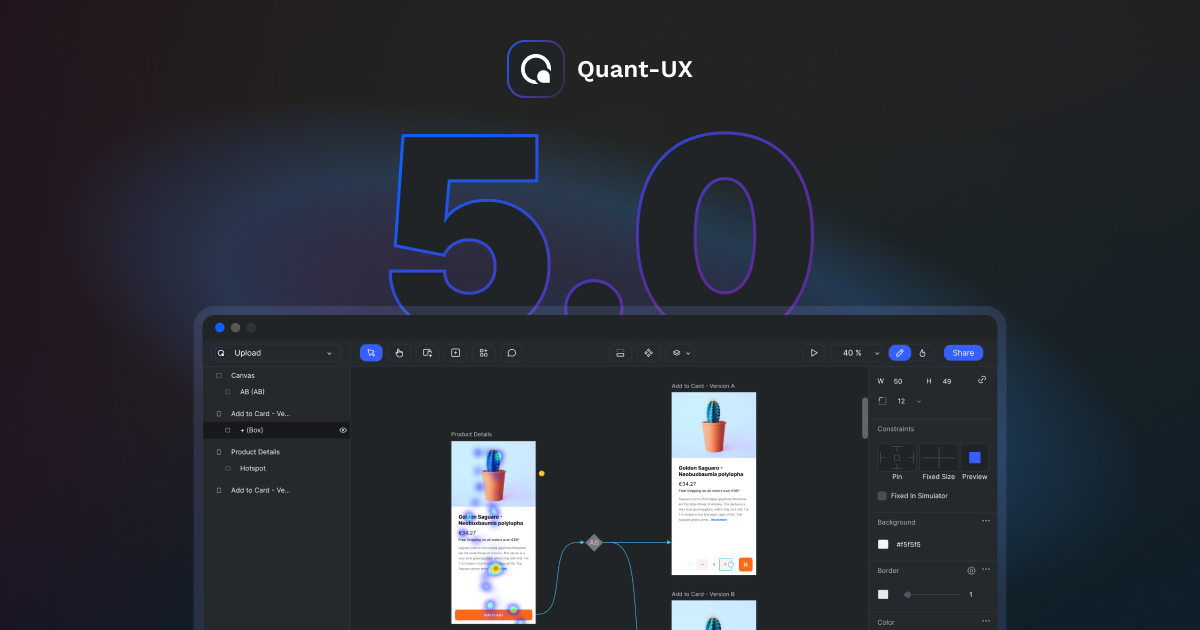
Development setup
Prerequisite
npm install
Running Locally on the Host Machine
Compiles and hot-reloads for development
npm run serve
Compiles and minifies for production
npm run build
Run your unit tests
npm run test:unit
Lints and fixes files
npm run lint
Developing inside a Docker Container
If you wish to develop by running the service exclusively through Docker, you can build a development image using:
make build-dev
This will create a Docker Image tagged under quant-ux. You can then replace the klausenschaefersinho/quant-ux inside your docker-compose file with the newly build quant-ux image. Don't forget to mount the source code after replacing the image.
If you're using the provided docker/docker-compose.yml, you can simply add the following volume mount to the qux-fe service:
    volumes:
      - ../src:/home/node/src
You can then make use of the following Makefile rules for quick docker environment setup and teardown:
# docker compose up - targets docker/docker-compose.yml
make up

# docker compose down - targets docker/docker-compose.yml
make down
Installation
The easiest way to get your own installation up and running is using the prebuild Docker images by Brian McGonagill. You can find the repo and instructions at https://github.com/bmcgonag/quant-ux-docker/
Manual Installation
Quant-UX has two components. A front-end (this package) and a backend (qux-java). The front-end needs Node.js (> 12) installed. The backend needs a Mongo DB, a Mail Server (SMTP) and Java (> 1.8). The front-end comes with it's own mini web server, which also include a proxy that redirects all request to the correct backend.
Docker
The easiest way to get your own Quant-UX installation running is using the Docker images.
- Create a docker compose file (
docker-compose.yaml) and set the environment variables.
version: '3'

services:
  mongo:
    restart: always
    container_name: quant-ux-mongo
    image: mongo
    volumes:
      - ./data:/data/db        # pth for the data to be stored and kept on your host machine is on the left side of the ":"
  qux-fe:
    restart: always
    container_name: quant-ux-frontend
    image: klausenschaefersinho/quant-ux
    environment:
      - QUX_PROXY_URL=http://quant-ux-backend:8080        # this is the path the front end uses to talk to the backend
      - QUX_AUTH=qux
      - QUX_KEYCLOAK_REALM=
      - QUX_KEYCLOAK_CLIENT=
      - QUX_KEYCLOAK_URL=
      - QUX_WS_URL=ws://127.0.0.1:8086        # change to where the websocket server is deployed for external access
    links:
      - mongo
      - qux-be
    ports:
      - 8082:8082        # change the left side port if your host machine already has 8082 in use
    depends_on:
      - qux-be
  qux-be:
    restart: always
    container_name: quant-ux-backend
    image: klausenschaefersinho/quant-ux-backend
    volumes:
      - ./quant-ux-data:/app-data
    environment:
      - QUX_HTTP_HOST=http://quant-ux-frontend:8082   # this is the URL included in the mails, e.g. password resets
      - QUX_HTTP_PORT=8080  # This is the port the backend will use
      - QUX_MONGO_DB_NAME=quantux  # the database / collection name in mongodb
      - QUX_MONGO_TABLE_PREFIX=quantux  # table / document prefix in mongodb
      - QUX_MONGO_CONNECTION_STRING=mongodb://quant-ux-mongo:27017 # this assumes your mongodb container will be called "quant-ux-mongo" in the docker-compose file
      - [email protected]        # this should be your smtp email user
      - QUX_MAIL_PASSWORD=sTr0ngPa55w0Rd        # this should be your smtp email password
      - QUX_MAIL_HOST=mail.example.com        # this should be your smtp host address
      - QUX_JWT_PASSWORD=some-long-string-of-mix-case-chars-and-nums        # you should change this to a real JWT secret
      - QUX_IMAGE_FOLDER_USER=/app-data/qux-images        # this folder should mapped in the volume
      - QUX_IMAGE_FOLDER_APPS=/app-data/qux-image-apps        # this folder should mapped in the volume
      - TZ=America/Chicago        # change to your timezone
      - QUX_AUTH_SERVICE=qux
      - QUX_KEYCLOAK_SERVER= # just the keycloak host & port
      - QUX_KEYCLOAK_REALM=
      - QUX_USER_ALLOW_SIGNUP=true # set the false to not allow users to signup
      - QUX_USER_ALLOWED_DOMAINS=* # comma separated list of domains, e.g. 'my-server.com' or '*' for all
      - QUX_AI_TOKEN=your-open-ai-token # Your open ai token that is shared with all users
      - QUX_AI_ALLOWED_URLS=https://api.openai.com/v1/

    depends_on:
      - mongo
  qux-ws:
    restart: always
    container_name: quant-ux-websocket-server
    image: klausenschaefersinho/quant-ux-websocket
    environment:
      - QUX_SERVER=http://quant-ux-backend:8080/
      - QUX_SERVER_PORT=8086
    ports:
      - 8086:8086
    links:
      - qux-be
    depends_on:
      - qux-be
Make sure to update QUX_JWT_PASSWORD the ENV variable to make sure your installation is secure.
Update QUX_HTTP_HOST, QUX_MAIL_USER, QUX_MAIL_PASSWORD and QUX_MAIL_HOST to sure correct mail handling
If you want to enbale AI for your users, set QUX_AI_TOKEN. This must be your OpenAI token. Please be aware that this can lead to significant costs. Best create a token with a limited budget.
- Start the containers with the following command
docker compose up
One-Click deployment
Elestio
You can deploy an instance of Quant UX with few clicks and minimal configuration on cloud service provider of your choice.

RepoCloud.io
You can deploy an instance of Quant UX with one click on RepoCloud.

Kubernets
You can find a kubernets configuration here https://github.com/engmsilva/quant-ux-k8s/tree/master/k8s
Backend
Install Mongo DB (> 4.4)
Install Java (1.8)
Checkout the backend
git clone https://github.com/KlausSchaefers/qux-java.git
This contains already a compiled version of the backend in the release folder
Edit the matc.conf file to setup the correct mongo and mails server details. More details can be found here: https://github.com/KlausSchaefers/qux-java
Start the server, or install as a service in Linux.
java -jar release/matc.jar -Xmx2g -conf matc.conf -instances 1
Front-end
Install Node.js (> 12)
Clone repo
git clone https://github.com/KlausSchaefers/quant-ux.git
- Install all dependecies:
npm install
- Build
npm run build
Config front-end
- Set the proxy server url as an ENV variable
export QUX_PROXY_URL=https://your.quant-ux.server.com // backend host

export QUX_WS_URL= wss.quant-ux.server.com // web socket server
- Start
node server/start.js
Reverse Proxy
Now you should have a running system. It is not secure yet. The best is to put both behind a NGINX reverse proxy, which handles SSL.
You can use https://letsencrypt.org/ to create SSL certificates