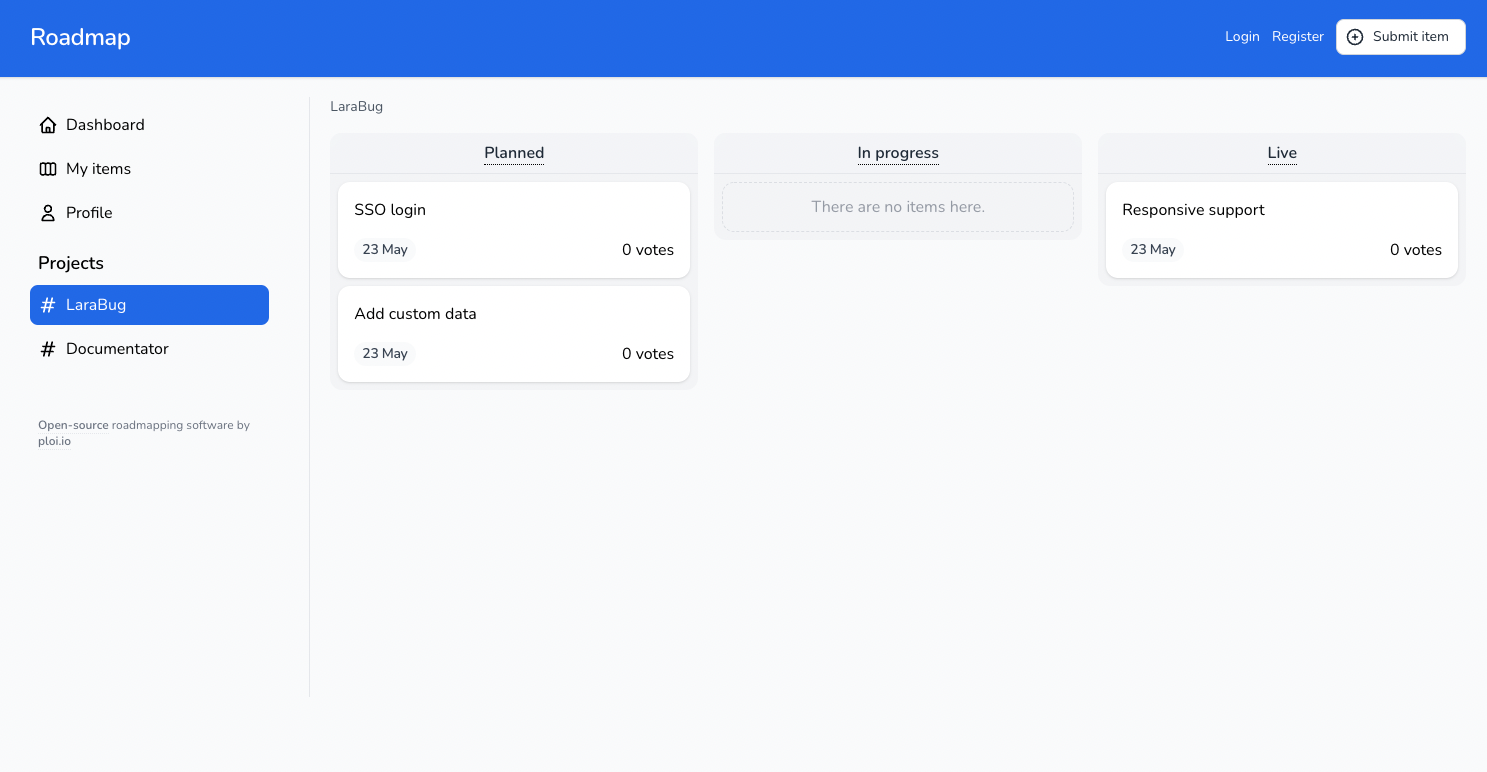
Roadmap
Welcome to Roadmap, the open-source software for your roadmapping needs 🛣
Features
- Completely customisable roadmapping software
- Mention users in comments
- Upvote items to see which has more priority
- Automatic slug generation
- Filament admin panel 💛
- Simplified role system (administrator, employee & user)
- OAuth 2 single sign-on with your own application
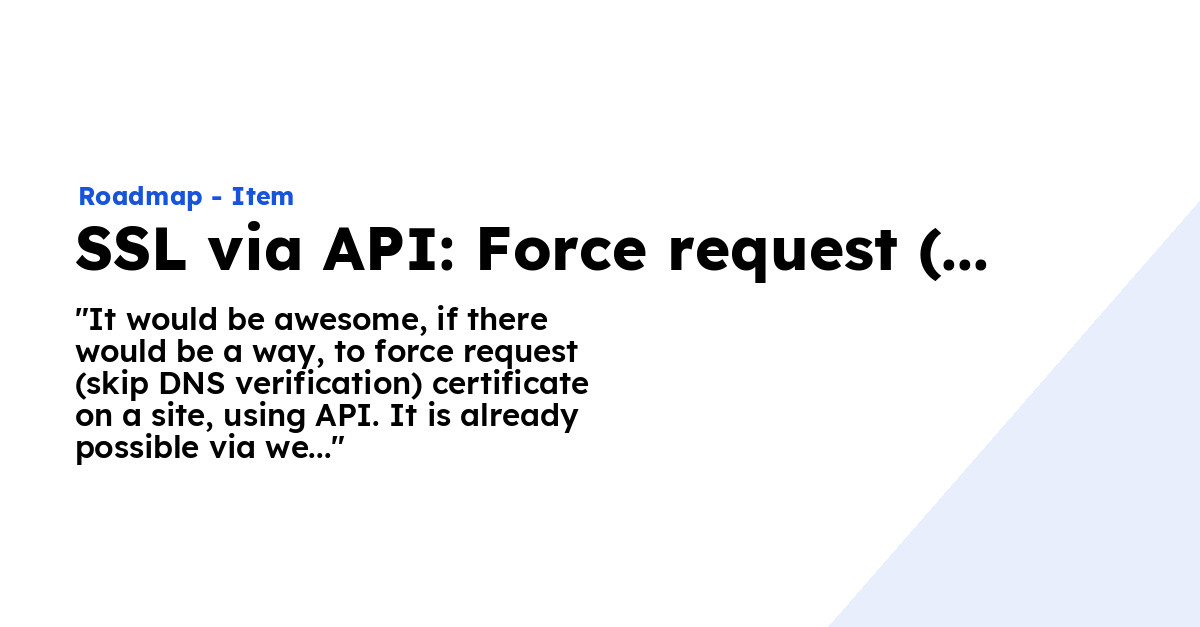
- Automatic OG image generation including branding color you've setup (saves in your storage, around 70kb per image), if title is too long it will strip automatically as well, example:
Requirements
- PHP >= 8.4
- Database (MySQL, PostgreSQL)
- GD Library (>=2.0) or
- Imagick PHP extension (>=6.5.7)
- NodeJS (any version)
Installation
First set up a database, and remember the credentials.
git clone https://github.com/ploi/roadmap.git
cd roadmap
composer install --no-interaction --prefer-dist --optimize-autoloader --no-dev
php -r "file_exists('.env') || copy('.env.example', '.env');"
php artisan key:generate
Now edit your .env file and set up the database credentials, including the app name you want.
Optionally you may set up the language with APP_LOCALE, if your language is not working we accept PR's for new languages. We recommend copying those files from the lang/en folder.
As well as the timezone can be set with APP_TIMEZONE, for example: APP_TIMEZ.
Now run the following:
php artisan roadmap:install
And login with the credentials you've provided, the user you've created will automatically be admin.
Deployment
To manage your servers and sites, we recommend using Ploi.io to speed up things, obviously you're free to choose however you'd like to deploy this piece of software 💙
That being said, here's an deployment script example:
cd /home/ploi/example.com
git pull origin main
composer install --no-interaction --prefer-dist --optimize-autoloader --no-dev
echo "" | sudo -S service php8.2-fpm reload

php artisan roadmap:upgrade

npm ci
npm run production

echo "🚀 Application deployed!"
If you're using queue workers (which we recommend to do) also add php artisan queue:restart to your deployment script.
Role system
There's a simplified role system included in this roadmapping software. There's 3 roles: administrator, employee & user.
What are these roles allowed to do?
- Administrator
- Obviously anything to users, items, projects, access admin
- Employee
- These can access the admin, and see their assigned items (via a filter). What they can't do: settings, theme, users, CRUD projects.
- User
- This is your default user when someone registers, they don't have access to the administration and can only access the frontend.
GitHub integration
To enable the GitHub integration, add these values to your .env:
GITHUB_ENABLED=true
GITHUB_TOKEN=your_github_token
To get a GitHub token, visit this URL: https://github.com/settings/tokens
When enabled, you can assign a repository to each project via the admin panel. For items in projects with a repo assigned, you'll be able to assign an issue or easily create one via the roadmap admin.
Installing SSO (OAuth 2 login with 3rd party app)
It is possible to configure OAuth 2 login with this roadmap software to make it easier to log in. In this example we're going to show how to set this up with a Laravel application example, but any other OAuth 2 capable application should be able to integrate as well.
Start by installing Laravel Passport into your application, consult their docs how to do this.
Now create a fresh client by running php artisan passport:client
It will ask you a few questions, an example how to answer these:
$ php artisan passport:client

Which user ID should the client be assigned to?:
>

What should we name the client?:
> Roadmap SSO

Where should we redirect the request after authorization? [https://my-app.com/oauth/callback]:
>

New client created successfully.
Client ID: 3
Client secret: 9Mqb2ssCDwk0BBiRwyRZPVupzkdphgfuBgEsgpjQ
Enter these credentials inside your .env file of the roadmap:
SSO_LOGIN_TITLE="Login with SSO"
SSO_BASE_URL=https://external-app.com
SSO_CLIENT_ID=3
SSO_CLIENT_SECRET=9Mqb2ssCDwk0BBiRwyRZPVupzkdphgfuBgEsgpjQ
SSO_CALLBACK=${APP_URL}/oauth/callback
# Mostly, your sso provider user endpoint response is wrapped in a `data` key.
# for example: { "data": "id": "name": "John Doe", "email": "[email protected]" }
# If you would like to use a custom key instead of data, you may define it here.
# you can also do something like 'data.user' if its nested.
# or you can set it to nothing (do not set it to value 'null'. just leave it empty value)
# if sso provider user endpoint response is not wrapped in a key.
SSO_PROVIDER_USER_ENDPOINT_DATA_WRAP_KEY="data"
# The keys that should be present in the sso provider user endpoint response
SSO_PROVIDER_USER_ENDPOINT_KEYS="id,email,name"
# The provider id returned by the sso provider for the user identification. sometimes its `uuid` instead of `id`
SSO_PROVIDER_ID="id"
SSO_ENDPOINT_AUTHORIZE=${SSO_BASE_URL}/oauth/authorize
SSO_ENDPOINT_TOKEN=${SSO_BASE_URL}/oauth/token
SSO_ENDPOINT_USER=${SSO_BASE_URL}/oauth/user
Next we're going to prepare the routes, controller & resource for your application.
Create these routes inside the api.php file:
Route::get('oauth/user', [Api\UserOAuthController::class, 'user'])->middleware('scopes:email');
Route::delete('oauth/revoke', [Api\UserOAuthController::class, 'revoke']);
Create the resource: php artisan make:resource Api/UserOAuthResource with the following contents in the toArray() method:
public function toArray($request)
{
    return [
        'id' => $this->id,
        'name' => $this->name,
        'email' => $this->email,
    ];
}
Create a controller php artisan make:controller Api/UserOAuthController and add these functions:
use App\Http\Resources\Api\UserOAuthResource;
use Laravel\Passport\RefreshTokenRepository;
use Laravel\Passport\TokenRepository;

public function user(Request $request)
{
    return new UserOAuthResource($request->user());
}

public function revoke(Request $request)
{
    $token = $request->user()->token();

    $tokenRepository = app(TokenRepository::class);
    $refreshTokenRepository = app(RefreshTokenRepository::class);

    $tokenRepository->revokeAccessToken($token->id);

    $refreshTokenRepository->revokeRefreshTokensByAccessTokenId($token->id);
}
Also setup the tokens inside the AppServiceProvider inside the boot() method:
public function boot()
{
    ...

    Passport::tokensCan([
        'email' => 'Read email'
    ]);
}
Now head over to the login page in your roadmap software and view the log in button in action. The title of the button can be set with the .env variable: SSO_LOGIN_TITLE=
AI endpoint
Each item has an /ai endpoint that returns its data in a machine-readable format, useful for AI agents and automation.
GET /projects/{project}/items/{item}/ai
Query parameters:
| Parameter | Description | Example |
|---|---|---|
format |
Response format: json (default), yml/yaml, markdown/md |
?format=yml |
include[comments] |
Include public comments | ?include[comments]=1 |
Examples:
/projects/1-bugs/items/2-bug-in-sites-overview/ai
/projects/1-bugs/items/2-bug-in-sites-overview/ai?include[comments]=1
/projects/1-bugs/items/2-bug-in-sites-overview/ai?format=markdown
/projects/1-bugs/items/2-bug-in-sites-overview/ai?format=yml&include[comments]=1
Docker Support
Getting up and running...
Go into docker folder and run:
docker-compose up -d --build
Set your database .env variables:
DB_CONNECTION=mysql
DB_HOST=roadmap-db
DB_PORT=3306
DB_DATABASE=roadmap
DB_USERNAME=root
DB_PASSWORD=secret
Composer Install:
docker exec -it roadmap composer install --no-interaction --prefer-dist --optimize-autoloader --no-dev
NPM Install:
docker exec -it roadmap npm ci
Running artisan commands:
docker exec -it roadmap php artisan
The Application will be running on localhost:1337 and PhpMyAdmin is running on localhost:8010
Docker Considerations
There are a few heroicons that were giving issues when running locally with docker.
Unable to locate a class or view for component <insert heroicon name here>
The problem was resolved by simply changing the following icons:
x-heroicon-o-chevron-down -> x-heroicon-s-chevron-down (group.blade.php) heroicon-o-chat -> heroicon-s-chat (CommentResource) heroicon-o-archive -> heroicon-s-archive (ItemResource) heroicon-o-x-circle -> heroicon-o-collection (no