
🎨 Beautiful images of your code — from right inside your terminal.








Table of Contents
Description
carbon-now-cli brings the power of Carbon directly to your terminal. ⚡️
Generate beautiful images of your code with a single command.
Want to customize everything before generating the image? Run it in --interactive mode. 💅

Features
- 🖼 Downloads the real, high-quality image (no DOM screenshots)
- ✨ Detects file type automatically
- 🗂 Supports all languages & covers extra ground
- ⚡️ Interactive mode via
--interactive - 🎒 Presets via
--presetto save and re-use your favorite settings - 🖱 Selective processing via
--startand--end - 📎 Copies image to clipboard via
--to-clipboard(cross-OS 😱) - 📚 Accepts file,
stdin, or clipboard content as input - 🖋️ Supports custom theme colors
- 🥞 Supports concurrency for easier batch processing
- 👀 Saves to given location or opens in browser for manual finish
- 🐶 Displays image directly in supported terminals
- 🌈 Supports different export types (
png,svg) - 📏 Supports different resolutions (
1x,2x,4x) - ⏱ Reports each step and therefore shortens the wait
- ✅ Heavily tested
- ⛏ Actively maintained
- 🧺 …and more!
Installation
Bun
bun i -g carbon-now-cli
pnpm
pnpm i -g carbon-now-cli
npx
npx carbon-now-cli <file>
npm
npm i -g carbon-now-cli
yarn
yarn global add carbon-now-cli
Requirements
Usage
Beautiful images of your code — from right inside your terminal.

Usage
  $ carbon-now <file>
  $ pbpaste | carbon-now
  $ carbon-now --from-clipboard

Options
  --start, -s          Starting line of input
  --end, -e            Ending line of input
  --interactive, -i    Interactive mode
  --preset, -p         Apply an existing preset
  --save-to            Image save location, default: cwd
  --save-as            Image name without extension, default: original-hash
  --from-clipboard     Read input from clipboard instead of file
  --to-clipboard       Copy image to clipboard instead of saving
  --open-in-browser    Open in browser instead of saving
  --config             Use a different, local config (read-only)
  --settings           Override specific settings for this run
  --disable-headless   Run Playwright in headful mode
  --engine             Use different rendering engine, default: `chromium`
                       Options: `chromium`, `firefox`, `webkit`
  --skip-display       Don’t display the image in the terminal

Examples
  See: https://github.com/mixn/carbon-now-cli#examples
Presets
Creating a Preset
Running the carbon-now command generates a ~/.carbon-now.json config file.
Presets are stored in this file and consist of available settings. You can create presets either manually or automatically via the --interactive flag. When prompted, answer the following:

For example, naming the preset presentation will add it to ~/.carbon-now.json like this:
{
  "latest-preset": {
    // Equal to `presentation` below
  },
  "presentation": {
    "theme": "base16-light",
    "backgroundColor": "white",
    "windowTheme": "none",
    "windowControls": true,
    "fontFamily": "Space Mono",
    "fontSize": "18px",
    "lineNumbers": false,
    "firstLineNumber": 1,
    "selectedLines": "*",
    "dropShadow": false,
    "dropShadowOffsetY": "20px",
    "dropShadowBlurRadius": "68px",
    "widthAdjustment": true,
    "width": "20000px",
    "lineHeight": "140%",
    "paddingVertical": "35px",
    "paddingHorizontal": "35px",
    "squaredImage": false,
    "watermark": false,
    "exportSize": "2x",
    "type": "png"
  }
}
latest-preset will be overwritten after each run, while presentation remains until manually deleted.
Using a saved preset
To use a saved preset, simply run:
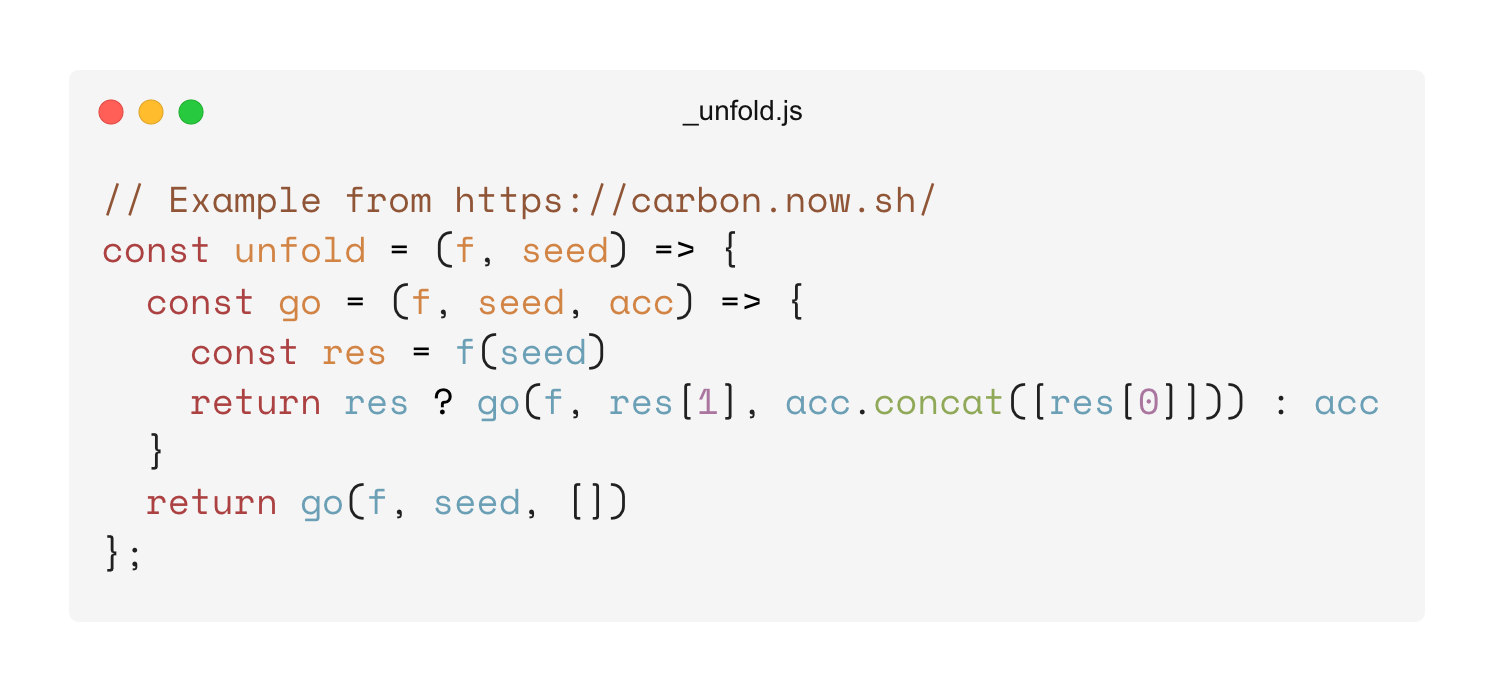
carbon-now _unfold.js --preset <name-of-preset>
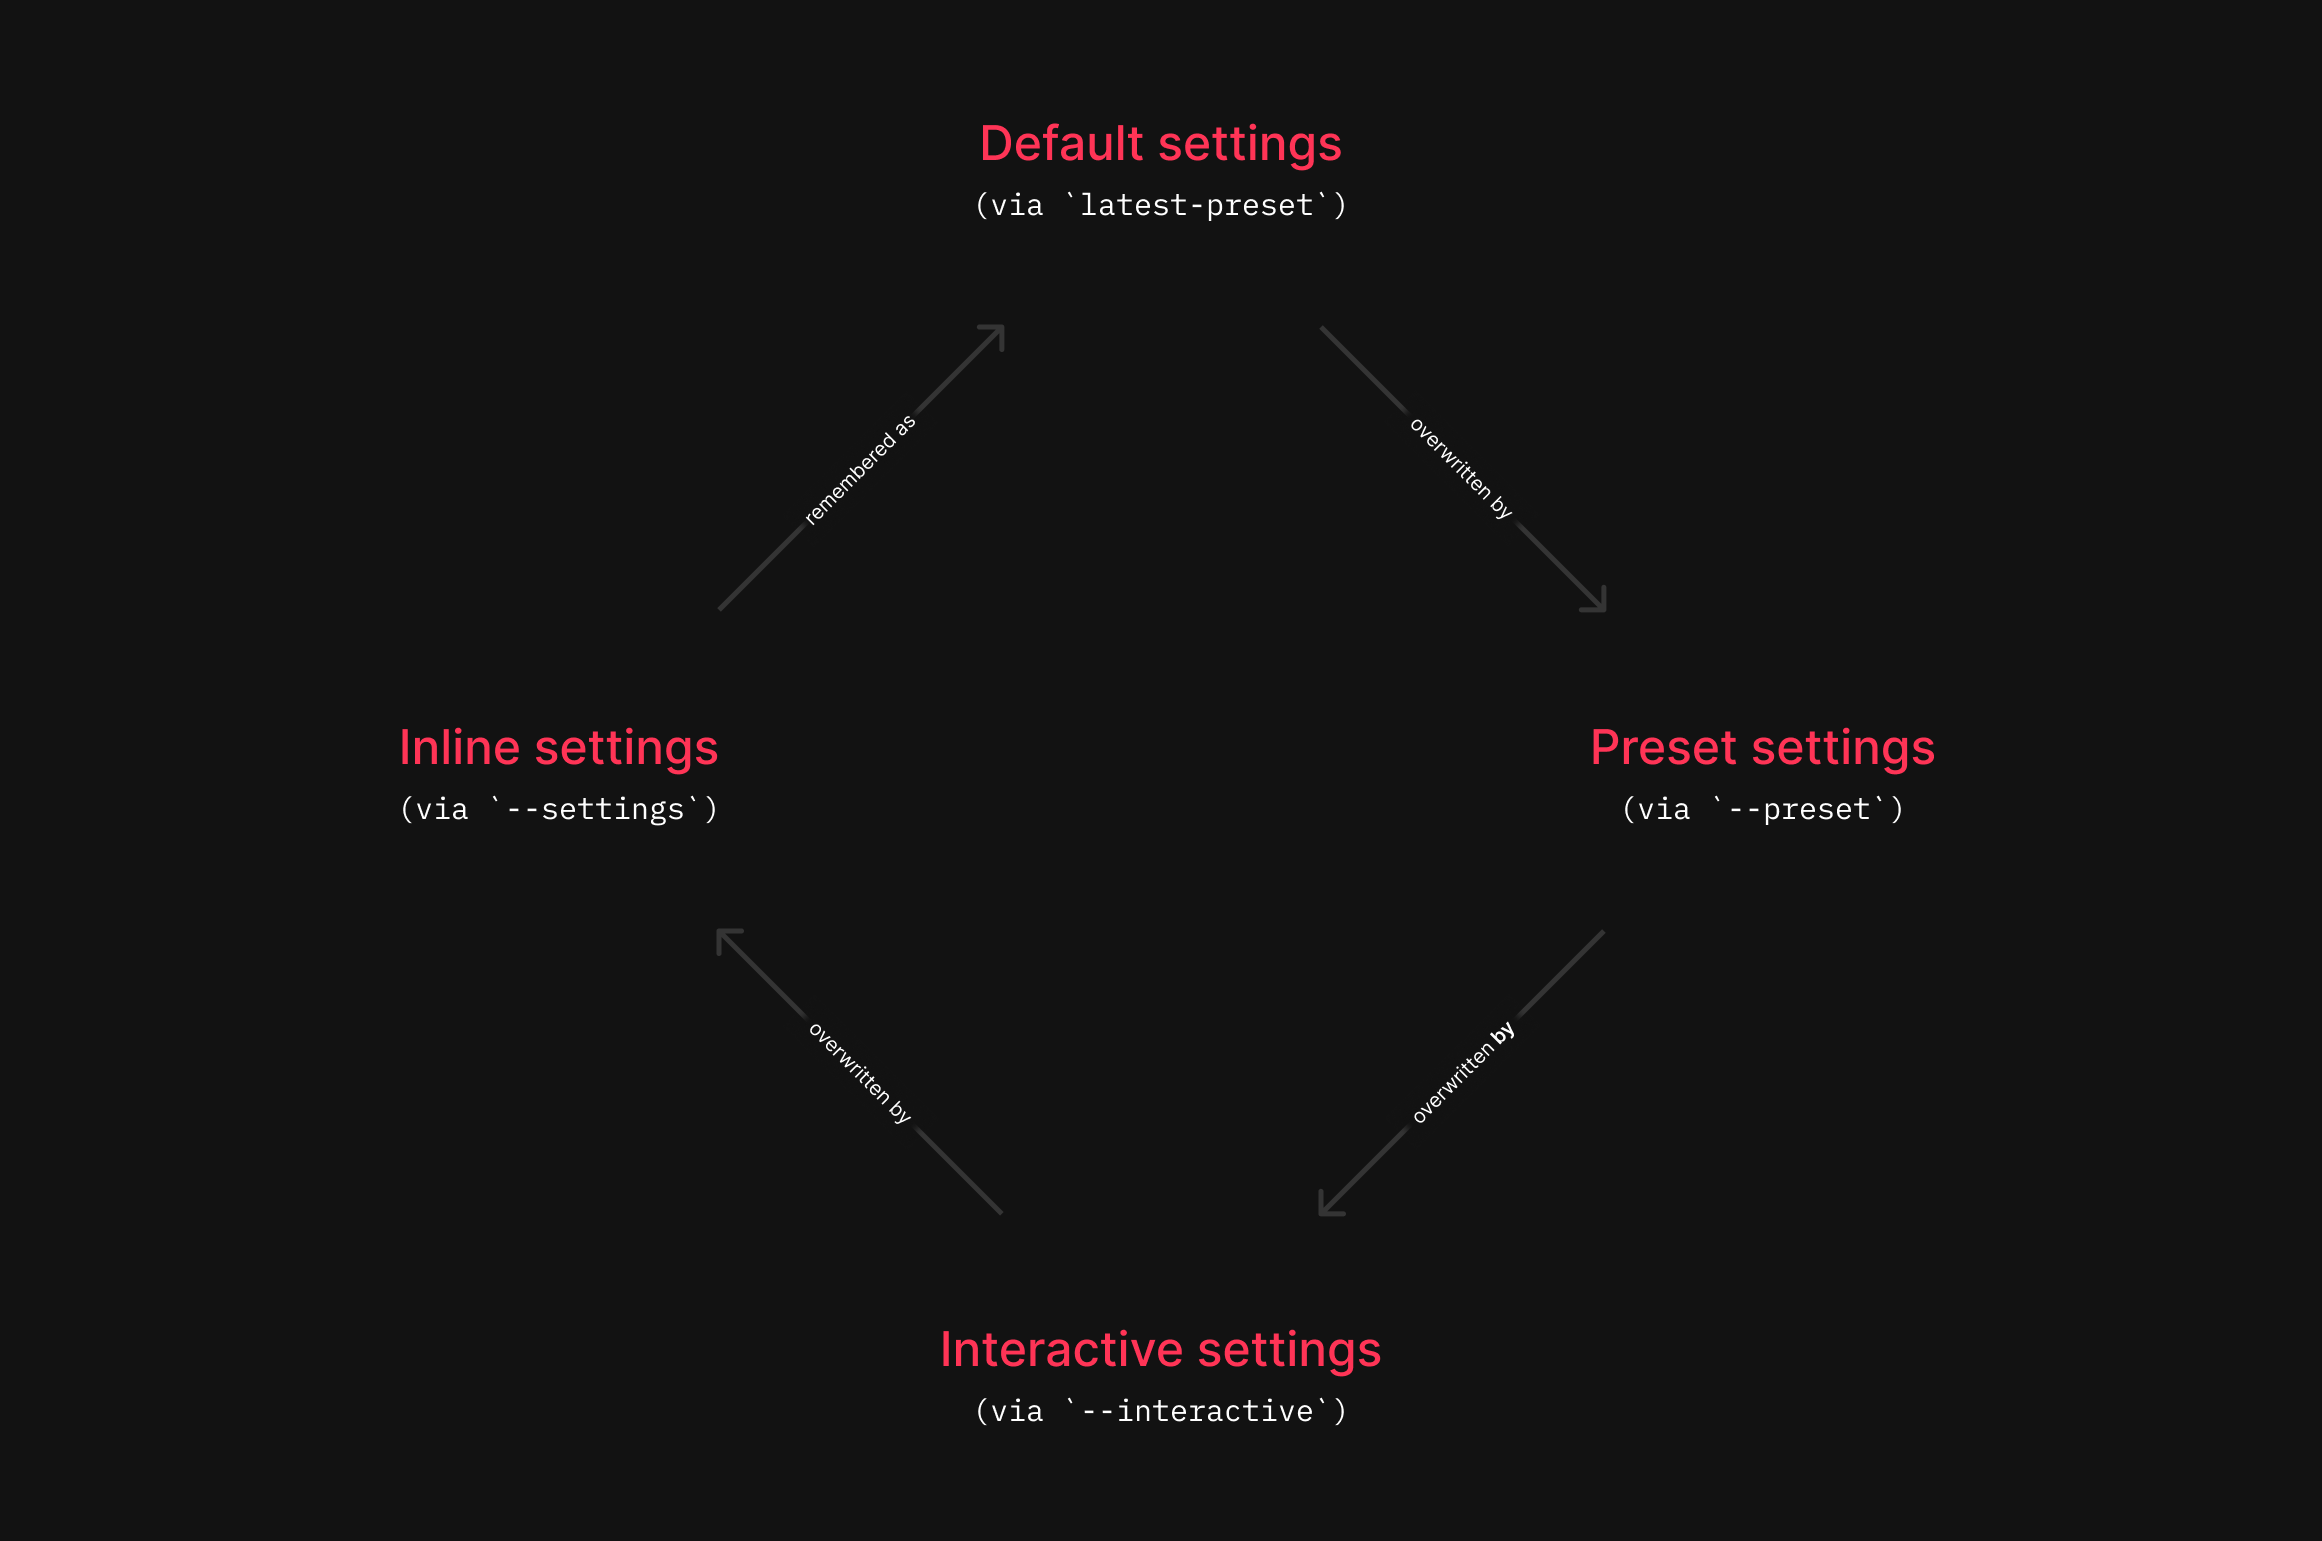
If the preset or ~/.carbon-now.json does not exist, carbon-now-cli will fall back to the default settings and be smart about the rest.
Result:
Settings
interface CarbonCLIPresetInterface {
  backgroundColor: string;
  dropShadow: boolean;
  dropShadowBlurRadius: string;
  dropShadowOffsetY: string;
  exportSize: '1x' | '2x' | '4x';
  firstLineNumber: number;
  fontFamily: CarbonFontFamilyType;
  fontSize: string;
  lineHeight: string;
  lineNumbers: boolean;
  paddingHorizontal: string;
  paddingVertical: string;
  selectedLines: string; // All: "*"; Lines 3-6: "3,4,5,6", etc.
  squaredImage: boolean;
  theme: CarbonThemeType;
  type: 'png' | 'svg';
  watermark: boolean;
  widthAdjustment: boolean;
  windowControls: boolean;
  windowTheme: 'none' | 'sharp' | 'bw';
  custom?: CarbonThemeHighlightsInterface;
  width?: string;
  // Below are detected automatically, and not persisted as keys
  language?: string;
  titleBar?: string;
}
Also see CarbonFontFamilyType, CarbonThemeType & CarbonThemeHighlightsInterface
Re-using settings
It just works. ™
carbon-now automatically reuses settings from previous runs, so you don’t need to worry about manually reconfiguring them.
Custom theme colors
From v2.0, carbon-now-cli supports custom theme colors for detailed styling. Define a custom key inside a preset that complies to the following type:
interface CarbonThemeHighlightsInterface {
  background?: string;
  text?: string;
  variable?: string;
  variable2?: string;
  variable3?: string;
  attribute?: string;
  definition?: string;
  keyword?: string;
  operator?: string;
  property?: string;
  number?: string;
  string?: string;
  comment?: string;
  meta?: string;
  tag?: string;
}
Example ~/.carbon-now.json with custom theme colors:
{
  "hacker": {
    "backgroundColor": "rgba(0, 255, 0, 1)",
    "windowTheme": "bw",
    "windowControls": true,
    "fontFamily": "Anonymous Pro",
    "fontSize": "18px",
    "lineNumbers": false,
    "firstLineNumber": 1,
    "dropShadow": false,
    "selectedLines": "*",
    "dropShadowOffsetY": "20px",
    "dropShadowBlurRadius": "68px",
    "widthAdjustment": true,
    "lineHeight": "133%",
    "paddingVertical": "30px",
    "paddingHorizontal": "30px",
    "squaredImage": false,
    "watermark": false,
    "exportSize": "2x",
    "type": "png",
    "custom": {
      "background": "rgba(0, 0, 0, 1)",
      "text": "rgba(0, 255