MiroTalk CME - Open Source Self-Hosted WebRTC Click-to-Call for Websites
Add video calling to your website with a self-hosted WebRTC Call-Me widget for instant customer communication.







Instant click-to-call video communication in your browser, no signup, no setup, powered by WebRTC.
Try Live Demo · Privacy · Documentation · Discord · Sponsor
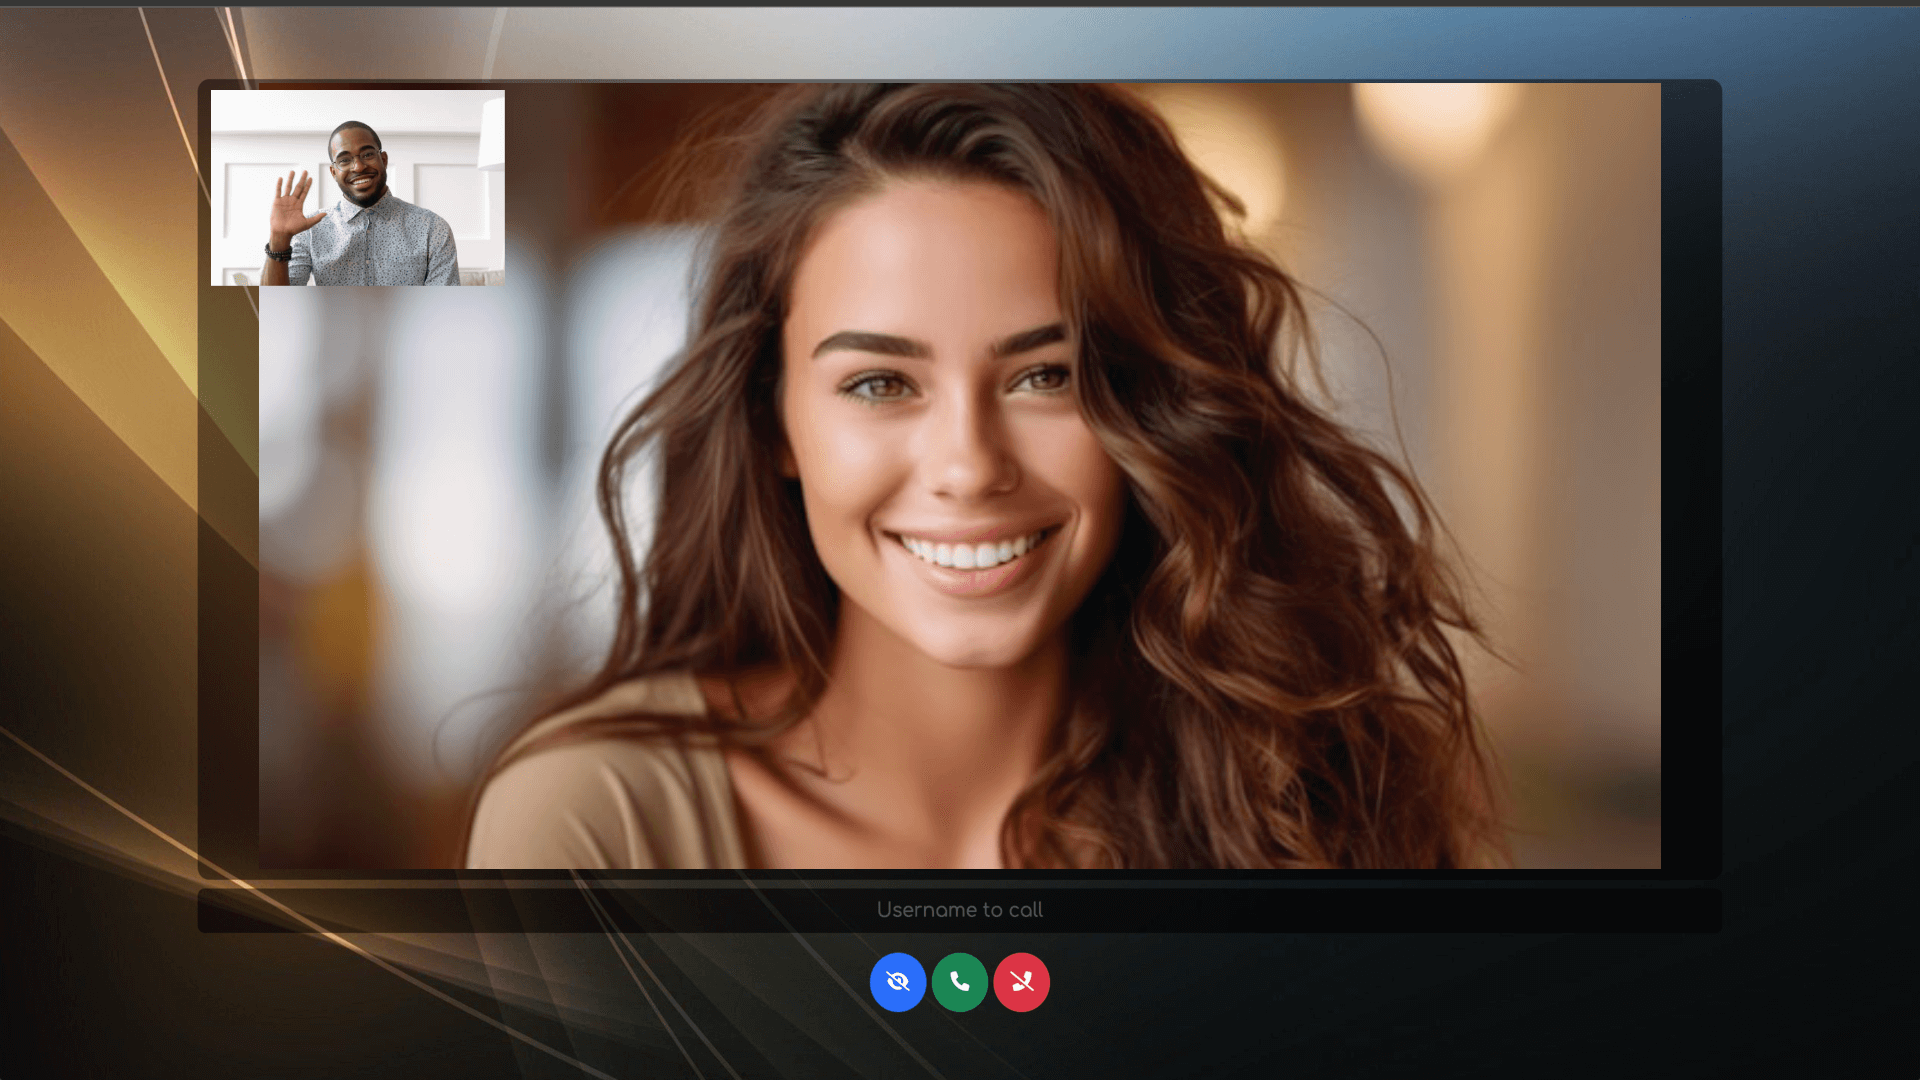
Getting Started
Jump to: Features · Quick Start · Click to Call · Self-Hosting · Fast Integration · API · Webhooks
Features
End-to-End Encryptionfor secure and private communications.Joinwith a username or enter a name toCall now.Join a room(e.g.Support,Reception) to group users, everyone in the same room can see and call each other (defaults toPublic).Set your preferred language.Initiate video callsby clicking the call button next to a recipient’s username.Switch between cameras, microphones, and speakersduring a call.Chat in real timewith participants.Hide your videofeed when needed.Toggle your microphone(mute/unmute).Toggle your camera(video on/off).Share your screen(start/stop).Share fileswith other participants.Hang up the callwhen finished.Enable Host Protectionmode with a password.Enable Web Push Notificationsto get notified of incoming calls even when the app is in the background.Use the REST APIto retrieve connected users, rooms, availability status, active calls and server stats, or to initiate a call.Receive Webhooksfor call lifecycle events (user joined/left, call started/ended with duration) for external integrations.
Quick Start
Using Node.js
# Clone this repo
git clone https://github.com/miroslavpejic85/call-me.git

# Go to to dir call-me
cd call-me

# Copy the config file
cp public/config.template.js public/config.js

# Copy .env.template to .env
cp .env.template .env

# Install dependencies
npm install

# Start the application
npm start
Using Docker
Install docker engine and docker compose
# Clone this repo
git clone https://github.com/miroslavpejic85/call-me.git

# Go to to dir call-me
cd call-me

# Copy the config file
cp public/config.template.js public/config.js

# Copy .env.template to .env
cp .env.template .env

# Create your own docker-compose.yml
cp docker-compose.template.yml docker-compose.yml

# Get official image from Docker Hub
docker-compose pull

# Create and start containers
docker-compose up
Openyour browser and visit http://localhost:8000.Joinwith your username orCallthe recipient directly.Selectthe connected recipient's username and clickCall.Enjoyyour one-to-one video call.
Click to Call
Direct links, rooms, and per-room branding
Allows a user to join the room as a user1
Lets the user2 join the room and initiate a call to the user1
- http://localhost:8000/join?user=user2&call=user1 (dev)
- https://cme.mirotalk.com/join?user=user2&call=user1 (prod)
Rooms
By default everyone joins the same shared Public room. You can optionally add a room parameter to group users into separate rooms (e.g. Support, Reception). Users only see and can call others in the same room.
Join a specific room as user1
- http://localhost:8000/join?user=user1&room=Support (dev)
- https://cme.mirotalk.com/join?user=user1&room=Support (prod)
Let user2 join the same room and call the user1
- http://localhost:8000/join?user=user2&call=user1&room=Support (dev)
- https://cme.mirotalk.com/join?user=user2&call=user1&room=Support (prod)
[!NOTE] The
calltarget must be in the sameroomas the caller. Ifroomis omitted, users join the defaultPublicroom.
You can explore a widget example that demonstrates this functionality here.
Per-room branding (optional)
Give each room its own name, subtitle, theme color, or GitHub visibility. Uncomment and edit the rooms map in public/config.template.js. Rooms without an entry keep the default look. Visual only — not a security feature.
Self-Hosting
Ubuntu requirements and install scripts

Requirements
- A clean server running Ubuntu 22.04 or 24.04 LTS
- Root access to the Server
- A domain or subdomain pointing to your server’s public IPv4
Note
When prompted, simply enter your domain or subdomain. Then wait for the installation to complete.
# Install
wget -qO cme-install.sh https://docs.mirotalk.com/scripts/cme/cme-install.sh \
  && chmod +x cme-install.sh \
  && ./cme-install.sh
# Uninstall
wget -qO cme-uninstall.sh https://docs.mirotalk.com/scripts/cme/cme-uninstall.sh \
  && chmod +x cme-uninstall.sh \
  && ./cme-uninstall.sh
# Update
wget -qO cme-update.sh https://docs.mirotalk.com/scripts/cme/cme-update.sh \
  && chmod +x cme-update.sh \
  && ./cme-update.sh
Fast Integration

Easily integrate Call-Me into your website or application with a simple iframe. Just add the following code to your project:
<iframe
    allow="camera; microphone; speaker-selection; fullscreen; clipboard-read; clipboard-write; web-share; autoplay"
    src="https://cme.mirotalk.com/"
    style="width: 100vw; height: 100vh; border: 0px;"
></iframe>
API
REST endpoints and curl examples
Get all connected users
## Get all connected users
curl -X GET "http://localhost:8000/api/v1/users" -H "authorization: call_me_api_key_secret" -H "Content-Type: application/json"
curl -X GET "https://cme.mirotalk.com/api/v1/users" -H "authorization: call_me_api_key_secret" -H "Content-Type: application/json"

## Get connected users in a specific room (optional `room` filter)
curl -X GET "http://localhost:8000/api/v1/users?room=Support" -H "authorization: call_me_api_key_secret" -H "Content-Type: application/json"

## Get detailed users info (room, media status, availability, connectedAt)
curl -X GET "http://localhost:8000/api/v1/users?details=true" -H "authorization: call_me_api_key_sec